Install Cardinal Data Lake
The fastest way to run Cardinal Data Lake is to let Cardinal install and manage it for you. From app.cardinalhq.io you register your Kubernetes cluster as a site, and Cardinal’s Perch operator deploys Cardinal Data Lake and the Cardinal UI together as a single unit — then keeps them upgraded, healthy, and reporting status back to Cardinal.
Cardinal UI is the on-prem build of Cardinal’s Cardinal UI console. When the operator installs your site it brings up both Cardinal Data Lake (the observability data lake) and the Cardinal UI (the console you query it from), version-matched and wired together.
We recommend the operator for every install. One Helm command registers the cluster, then everything is driven from the Cardinal UI: install, automatic upgrades, version pinning, health monitoring, and one-click removal — for both POC and production.
A POC via the Helm chart is also supported if you’d rather run it yourself, but you own upgrades and monitoring. See Manual install.
For advanced production topologies (external S3 + Postgres at scale, air-gapped clusters, custom HA), start with the operator and contact sales — we’ll help you size and harden the deployment.
Before you start
You’ll need:
-
A Kubernetes cluster (1.33+) and
kubectl/helmconfigured against it. -
Cluster-admin authority on that cluster — the operator installs cluster-scoped RBAC.
-
A default StorageClass — Cardinal Data Lake keeps its telemetry on PersistentVolumes provisioned from it. If no StorageClass is marked default, the install can’t bind storage and PersistentVolumeClaims hang Pending with no error surfaced.
EKS: a fresh cluster needs the EBS CSI driver addon installed (e.g.
eksctl create cluster … --addons aws-ebs-csi-driverwith OIDC), and thegp2StorageClass it ships is not marked default. Check withkubectl get storageclass— if nothing shows(default), run:kubectl annotate storageclass gp2 storageclass.kubernetes.io/is-default-class=true -
Outbound HTTPS from the cluster to Cardinal. No inbound ports are opened.
-
A free Cardinal account at app.cardinalhq.io . Creating your first site starts a 60-day trial automatically — no credit card required.
Operator-managed install
1. Create a site
In the Cardinal UI, go to Organization → Sites and click Create site. Your first site is eligible for a free trial that starts as soon as you create it, so you can install Cardinal Data Lake right away.
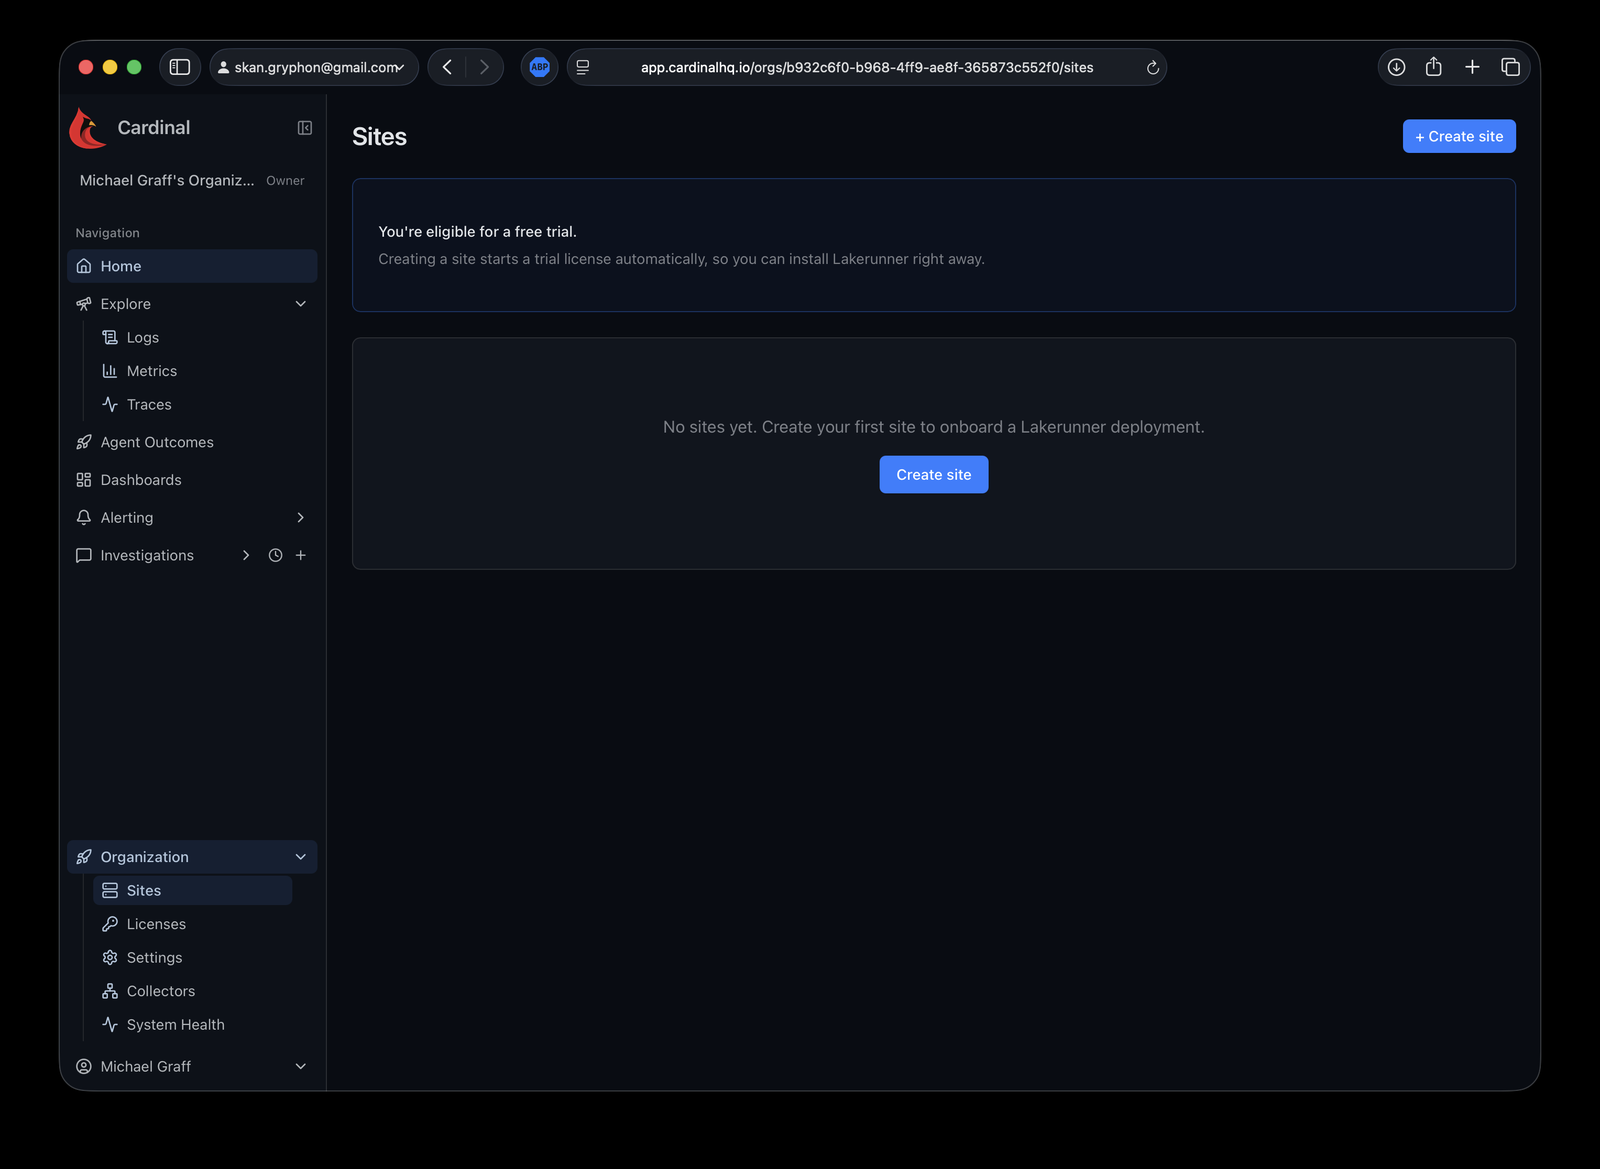
Choose Operator-managed — Cardinal’s Perch operator deploys and manages Cardinal Data Lake for you. (Self-managed is the token-only path for teams who want to run the chart themselves; that’s the manual install.)
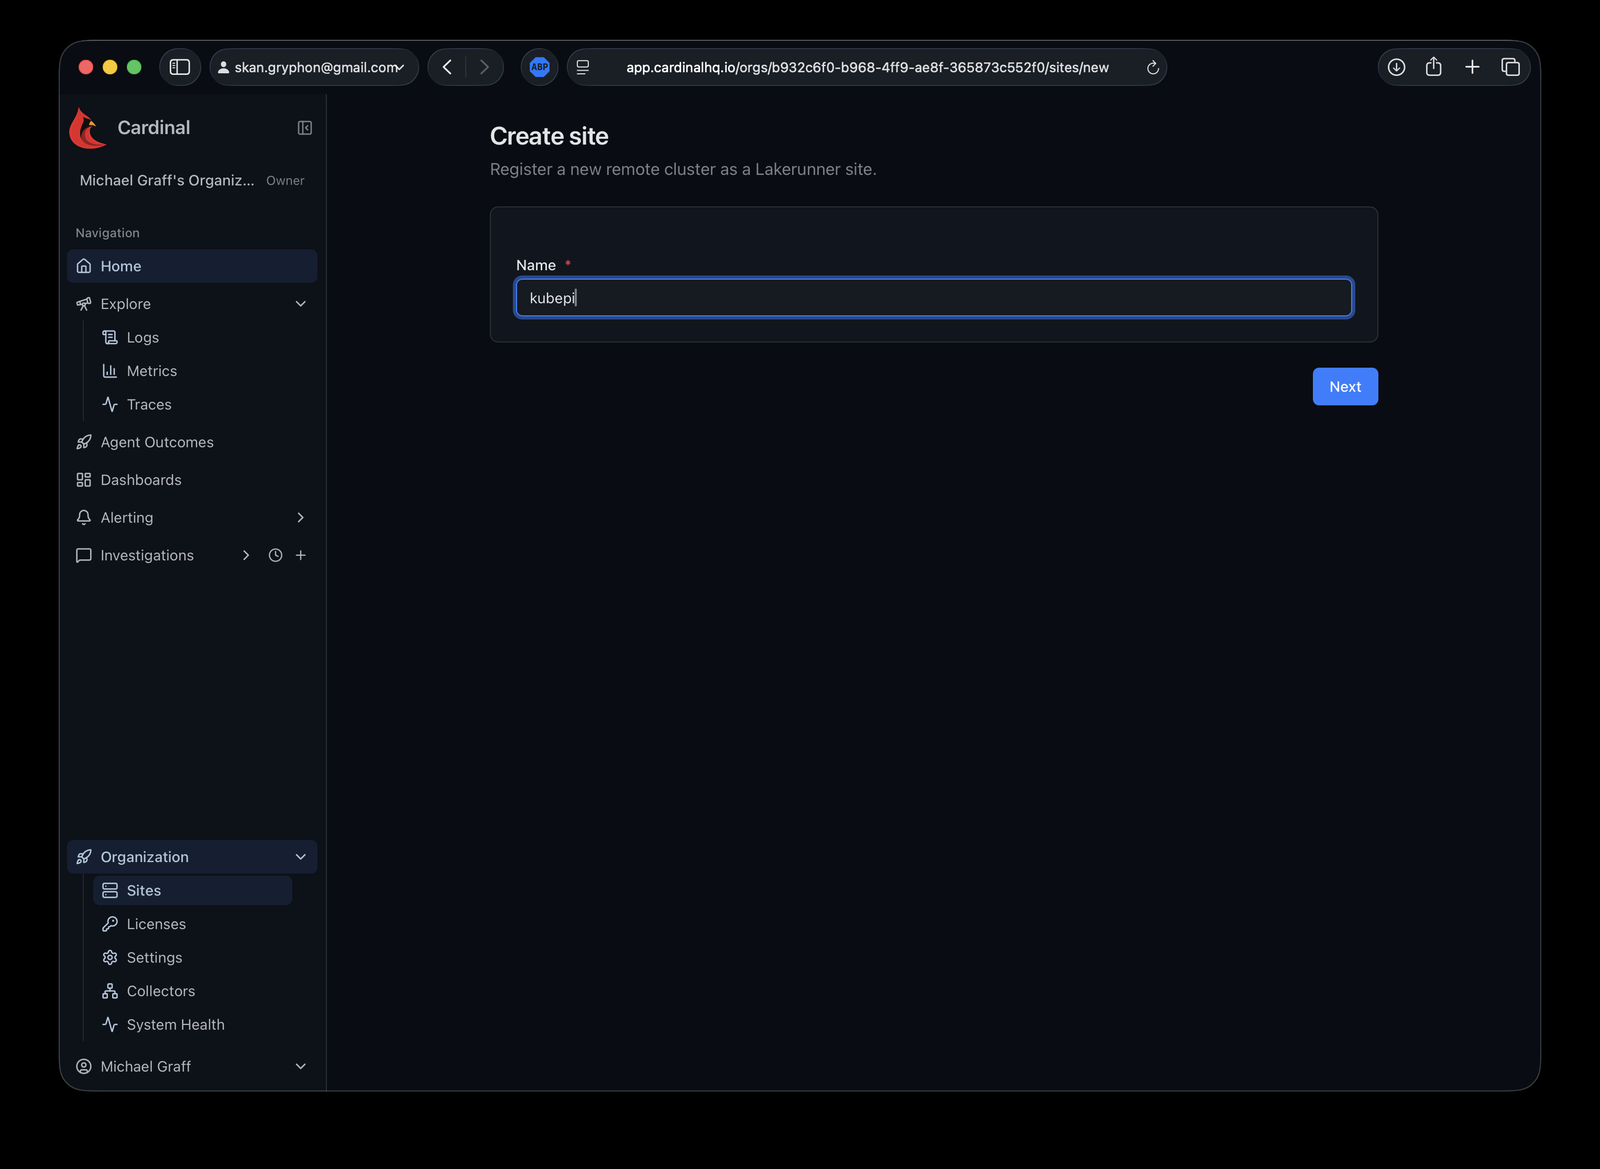
Give the site a name (for example, the cluster it lives on), then review exactly what the operator needs inside your cluster before anything is installed:
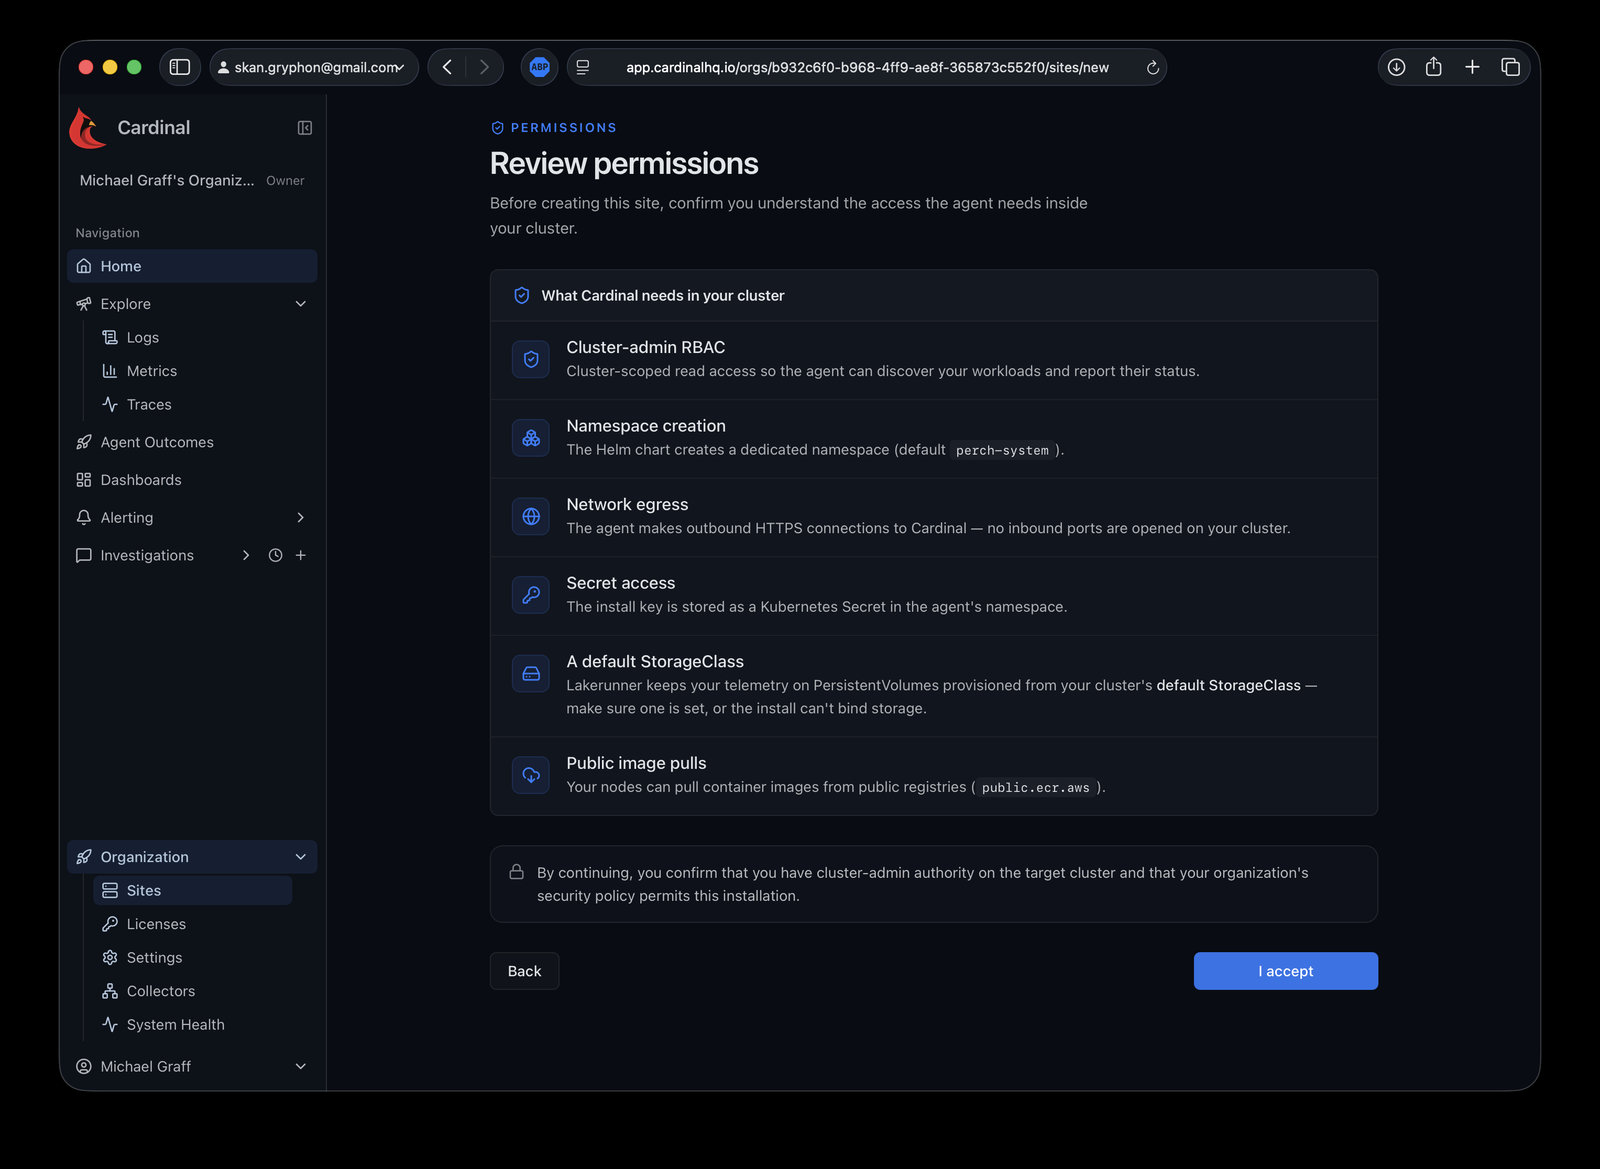
| Access | Why |
|---|---|
| Cluster-admin RBAC | Cluster-scoped read so the agent can discover your workloads and report status. |
| Namespace creation | The Helm chart creates a dedicated namespace (default perch-system). |
| Network egress | Outbound HTTPS to Cardinal only — no inbound ports are opened. |
| Secret access | The install key is stored as a Kubernetes Secret in the operator’s namespace. |
| A default StorageClass | Telemetry is stored on PersistentVolumes from your default StorageClass. |
| Public image pulls | Nodes pull container images from public.ecr.aws. |
2. Install the Perch operator
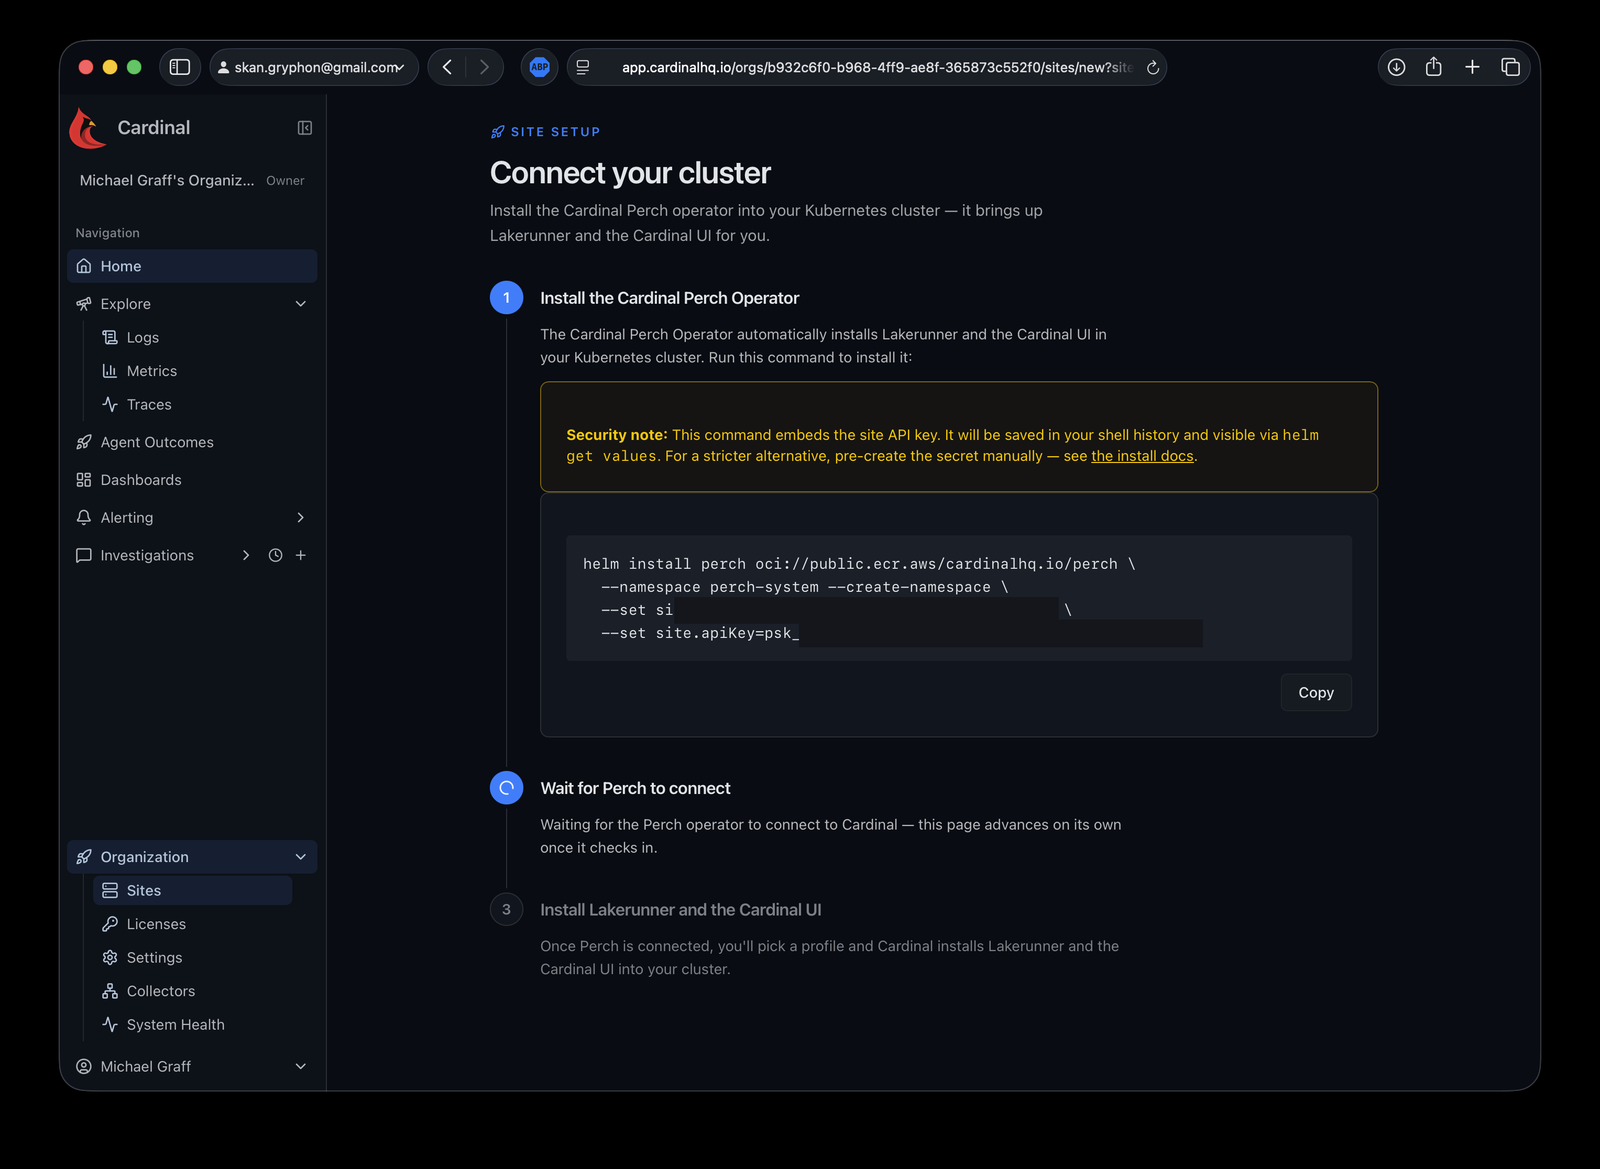
Cardinal generates a one-line helm install for your site. Run it against the target cluster:
Check your kubecontext first. The command installs into whatever cluster
kubectl config current-contextpoints at. If you work with multiple clusters, confirm the context — or pin it explicitly with--kube-context <name>— before running the install.
helm install perch oci://public.ecr.aws/cardinalhq.io/perch \
  --namespace perch-system --create-namespace \
  --set site.id=<your-site-id> \
  --set site.apiKey=<your-site-api-key>
Seeing
403 … authorization token has expiredfrompublic.ecr.aws? Your machine has a stale cached ECR token from an earlier authenticated pull. The registry allows anonymous pulls — clear the stale login and retry:helm registry logout public.ecr.aws
Security note: the
--set site.apiKey=…form embeds the site key on the command line, so it lands in your shell history and is readable viahelm get values. For a stricter install, pre-create the Secret yourself and install without the inline key — the chart detects an existingperch-site-apikeySecret and skips rendering its own:kubectl create namespace perch-system kubectl -n perch-system create secret generic perch-site-apikey \ --from-literal=psk=<your-site-api-key> helm install perch oci://public.ecr.aws/cardinalhq.io/perch \ --namespace perch-system \ --set site.id=<your-site-id>
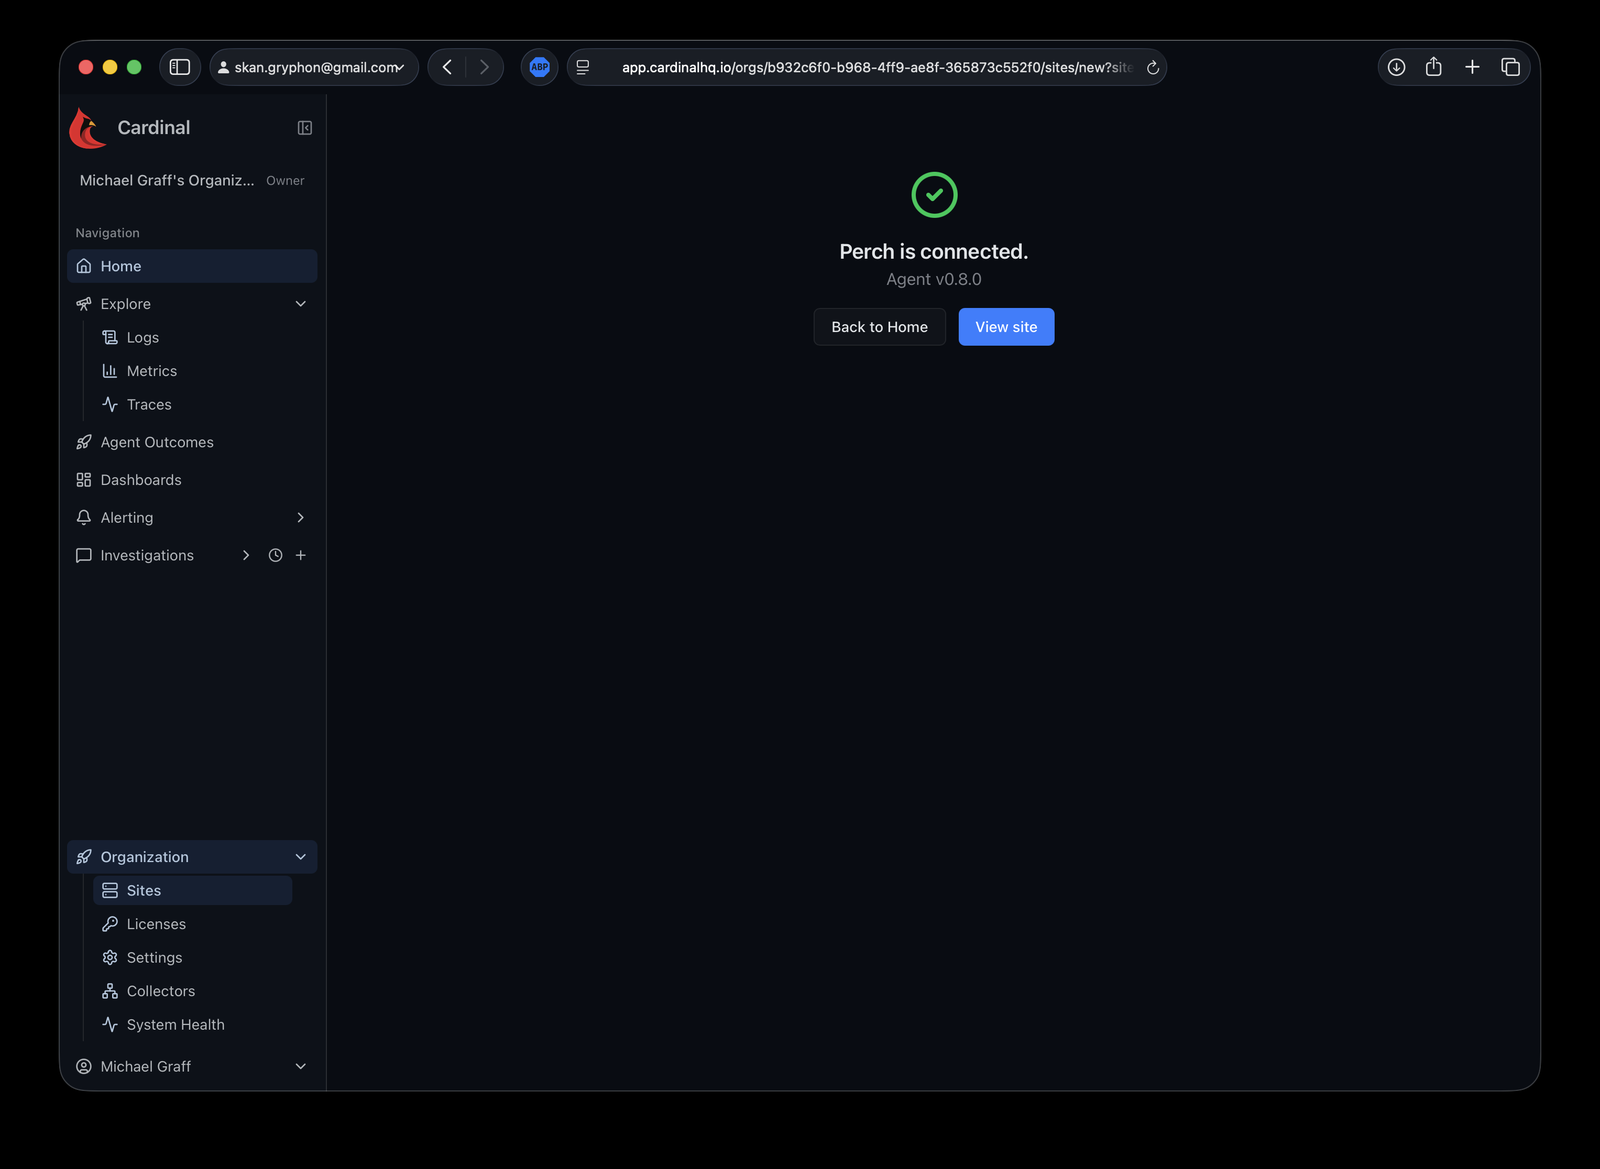
The Cardinal UI waits for the operator to check in and advances on its own once it connects.
3. Choose a profile
Now tell the operator how to run Cardinal Data Lake on this site.
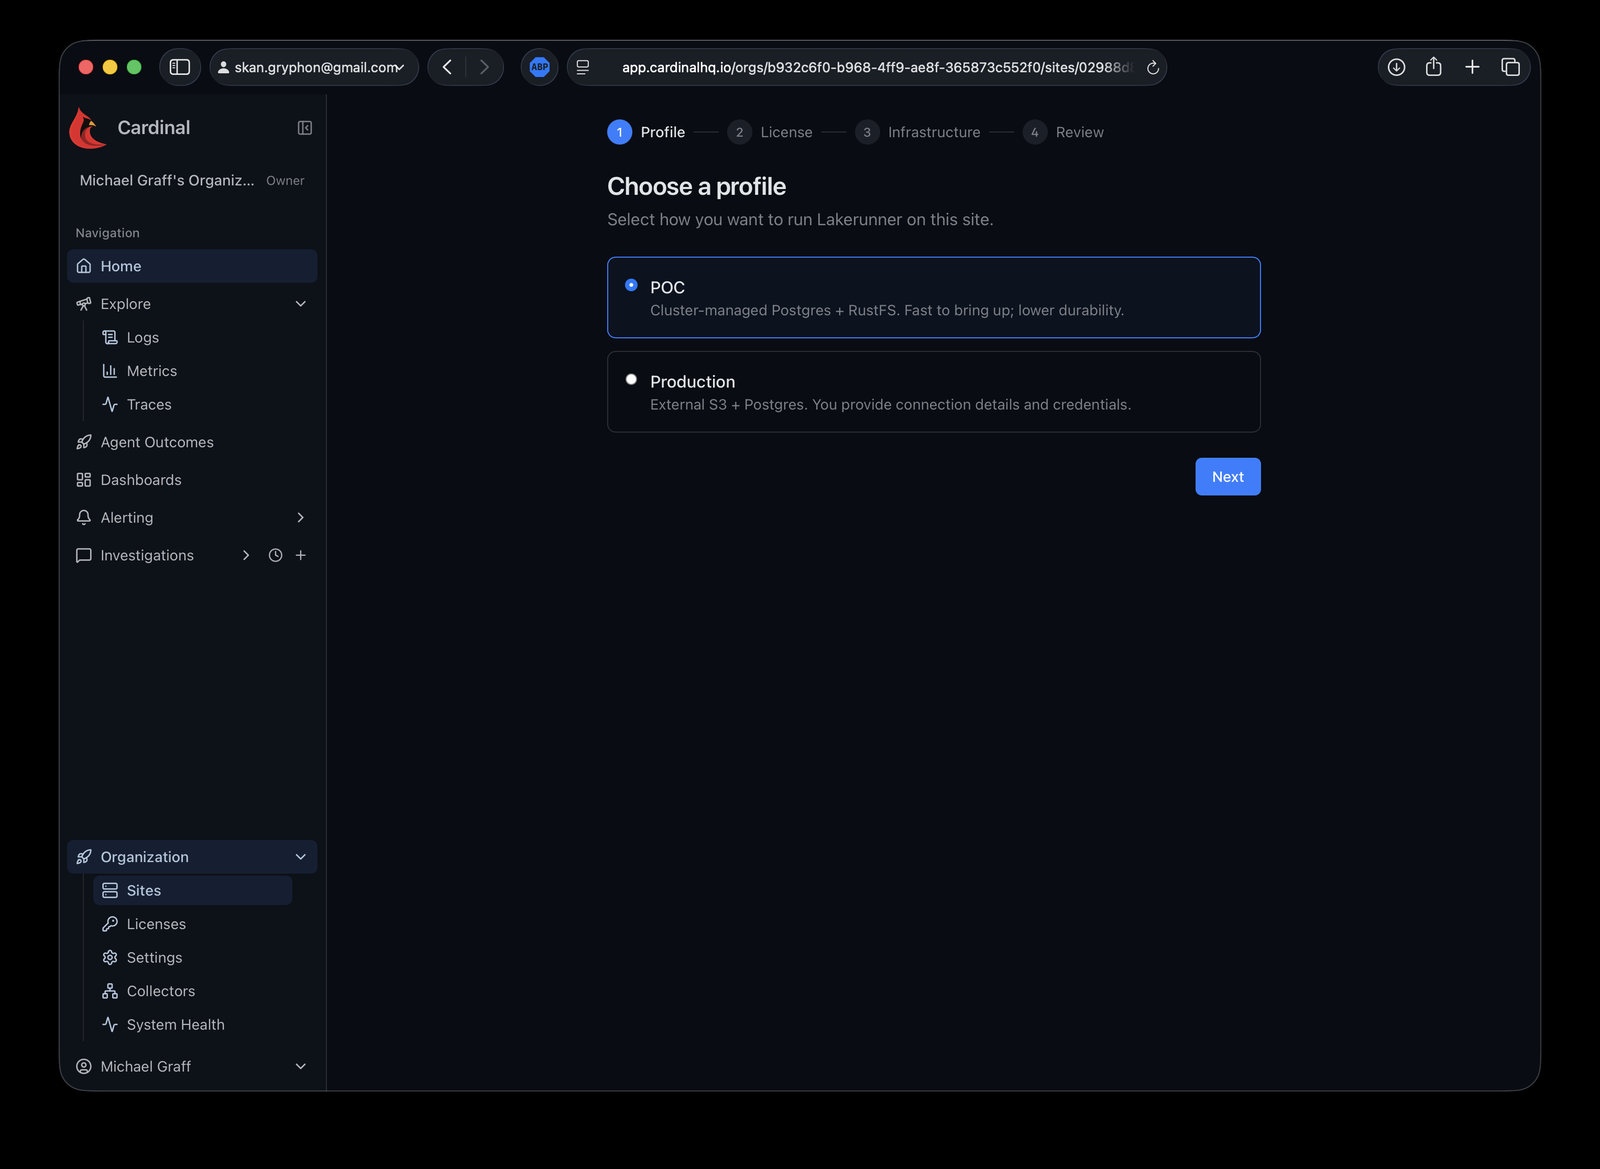
| Profile | What it provisions | Use it for |
|---|---|---|
| POC | Cluster-managed Postgres + RustFS, on PersistentVolumes | Fast to bring up. Lower durability — data lives on cluster-local PVCs and is lost if the cluster is destroyed. |
| Production | External S3 + Postgres you provide | Durable storage that outlives the cluster. You supply connection details and credentials. |
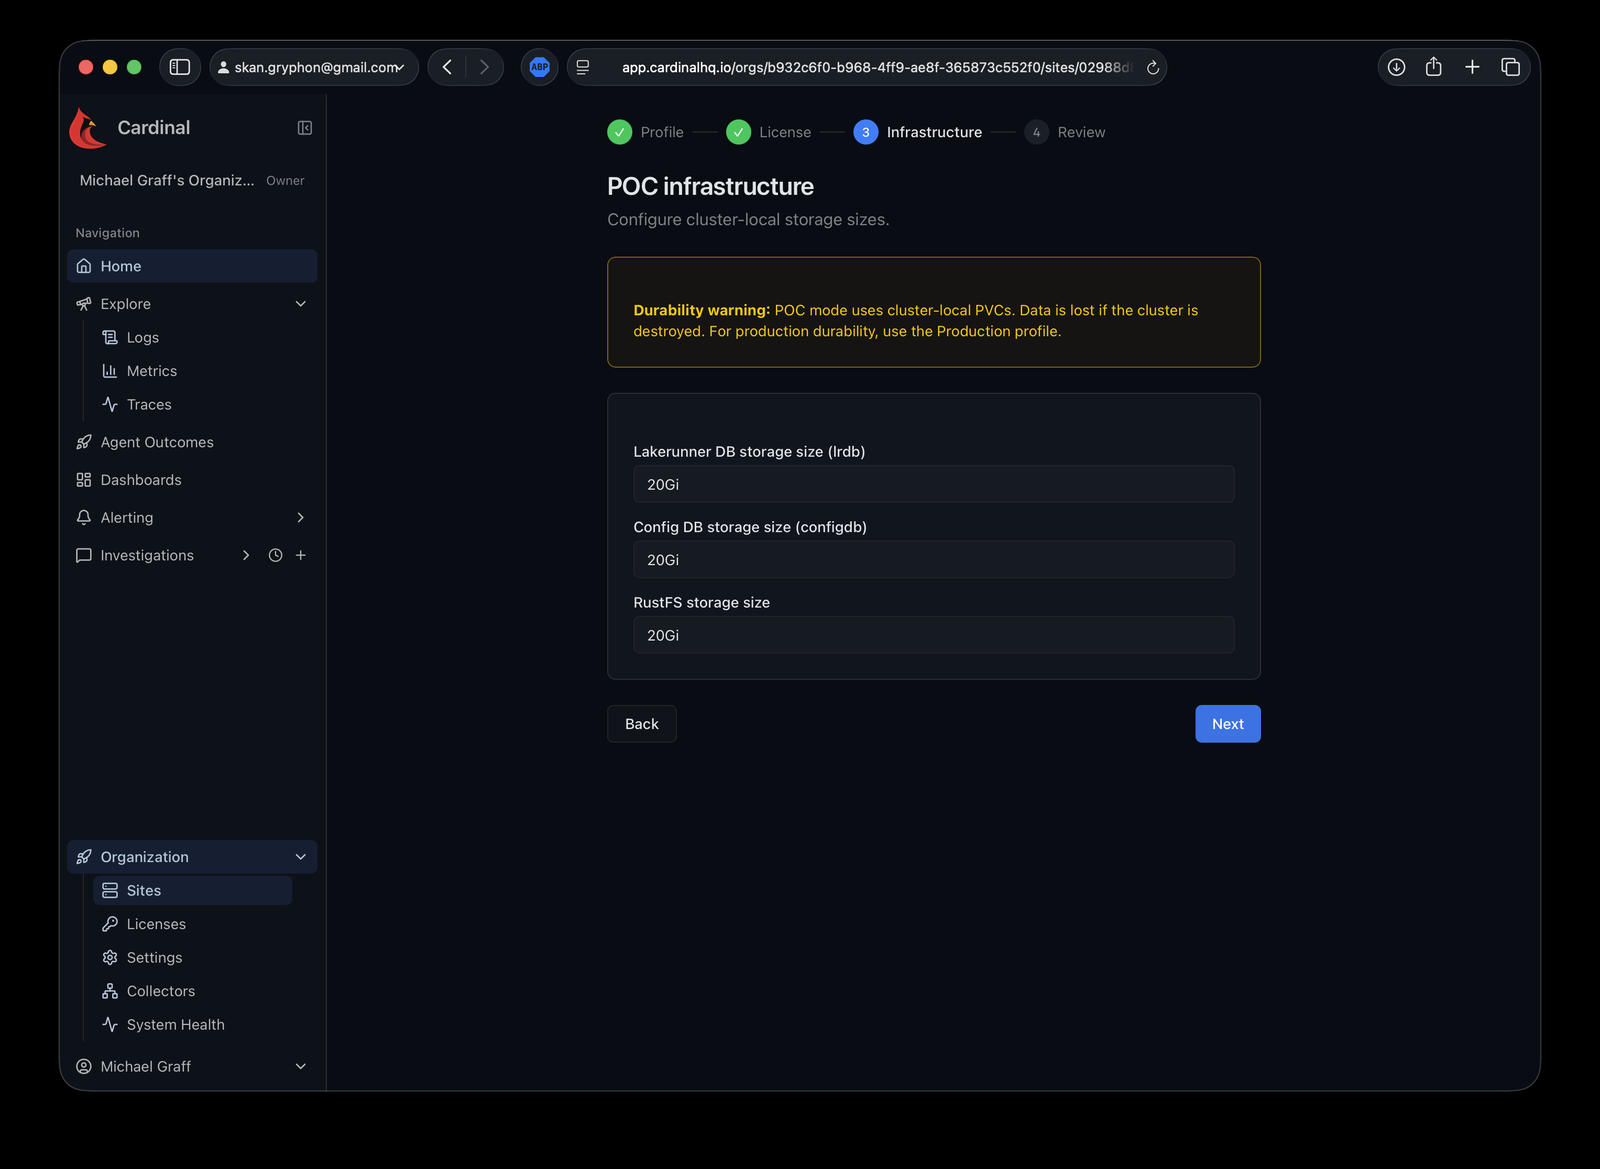
Pick your trial license (the site created on a trial has one slot available), then confirm storage sizes. POC mode surfaces a durability warning so nobody ships cluster-local PVCs to production by accident:
4. Review and deploy
Nothing changes in your cluster until you confirm. The review step spells out exactly what the operator will
create — Deployments, StatefulSets, Services, PersistentVolumeClaims, and Secrets — all scoped to this site’s
lakerunner namespace.
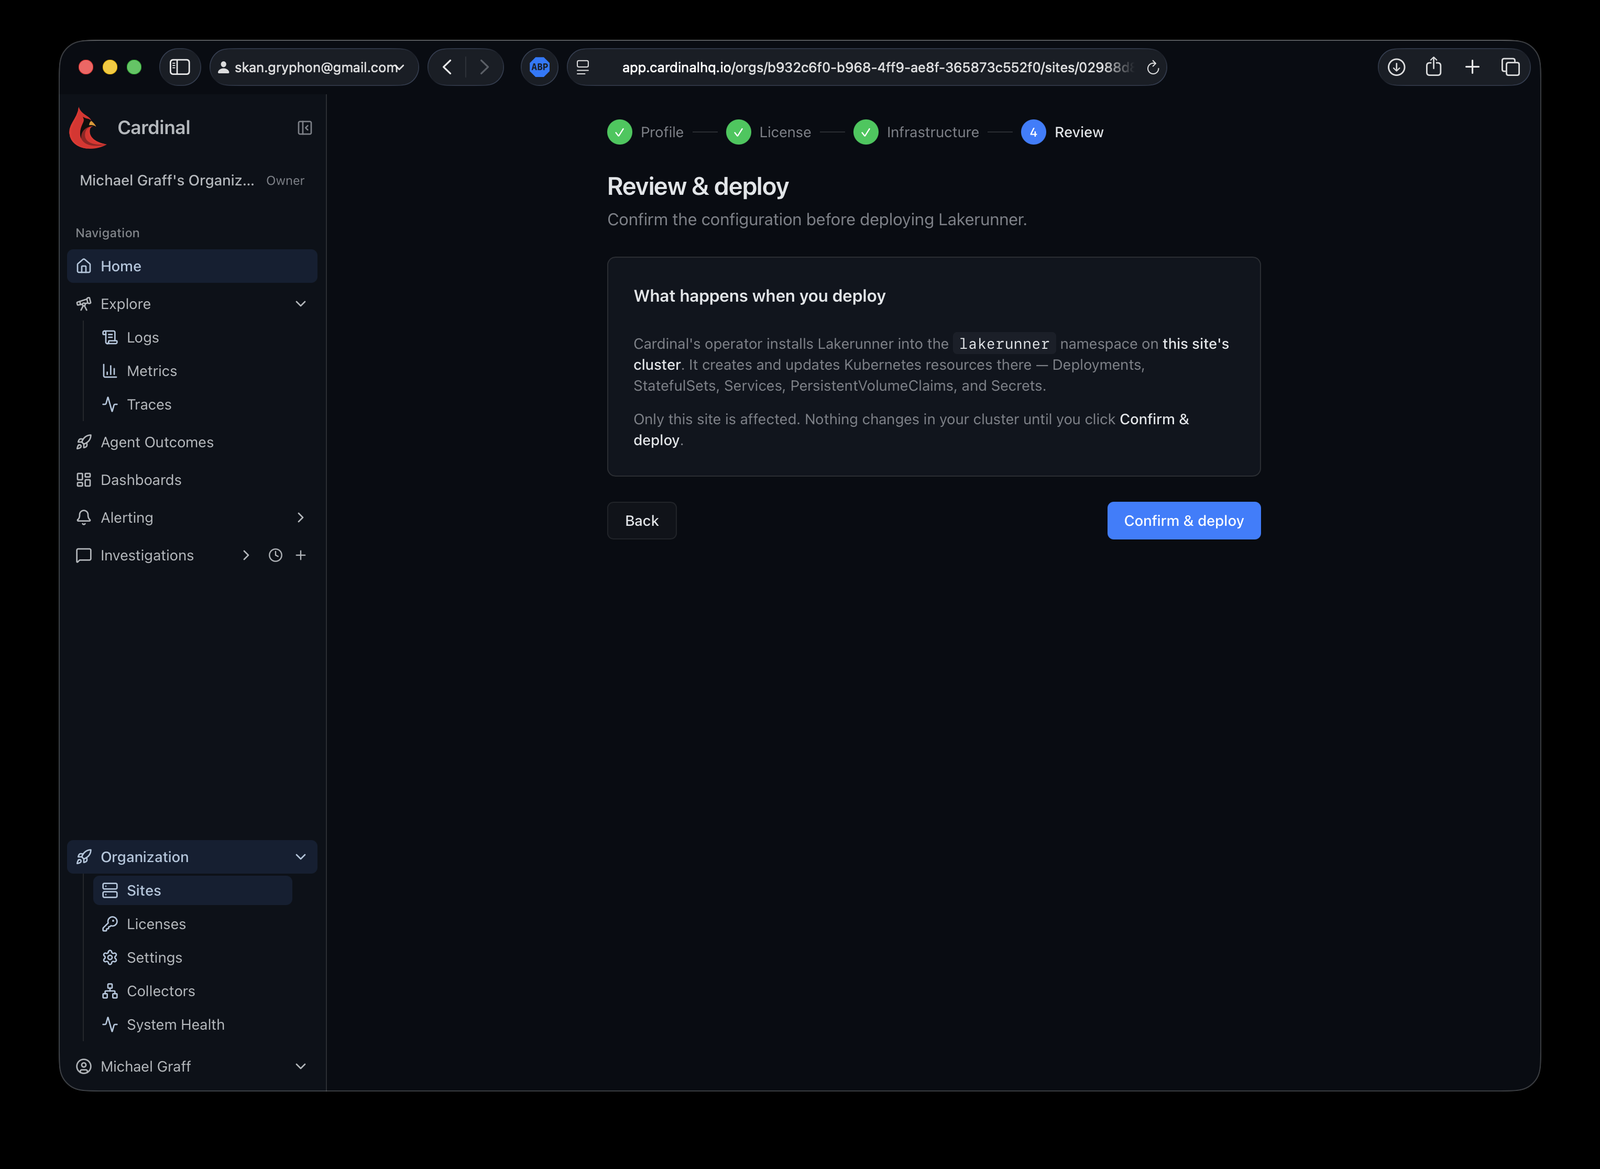
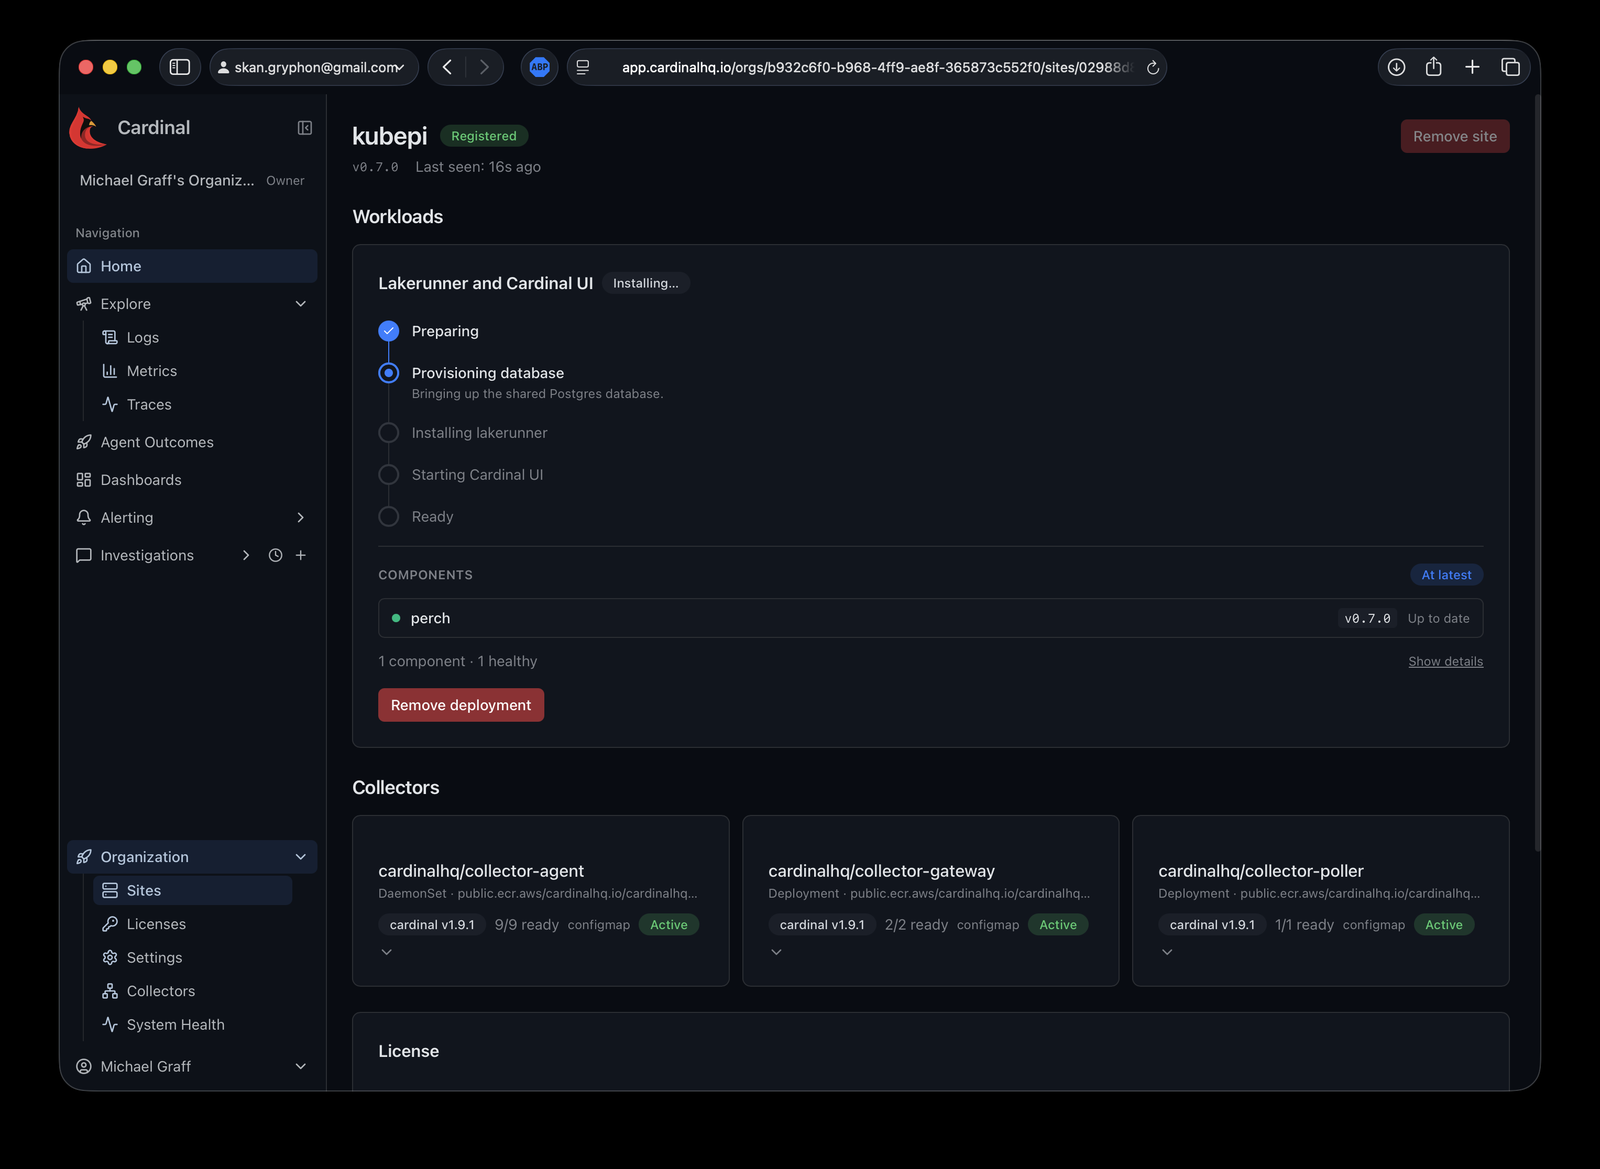
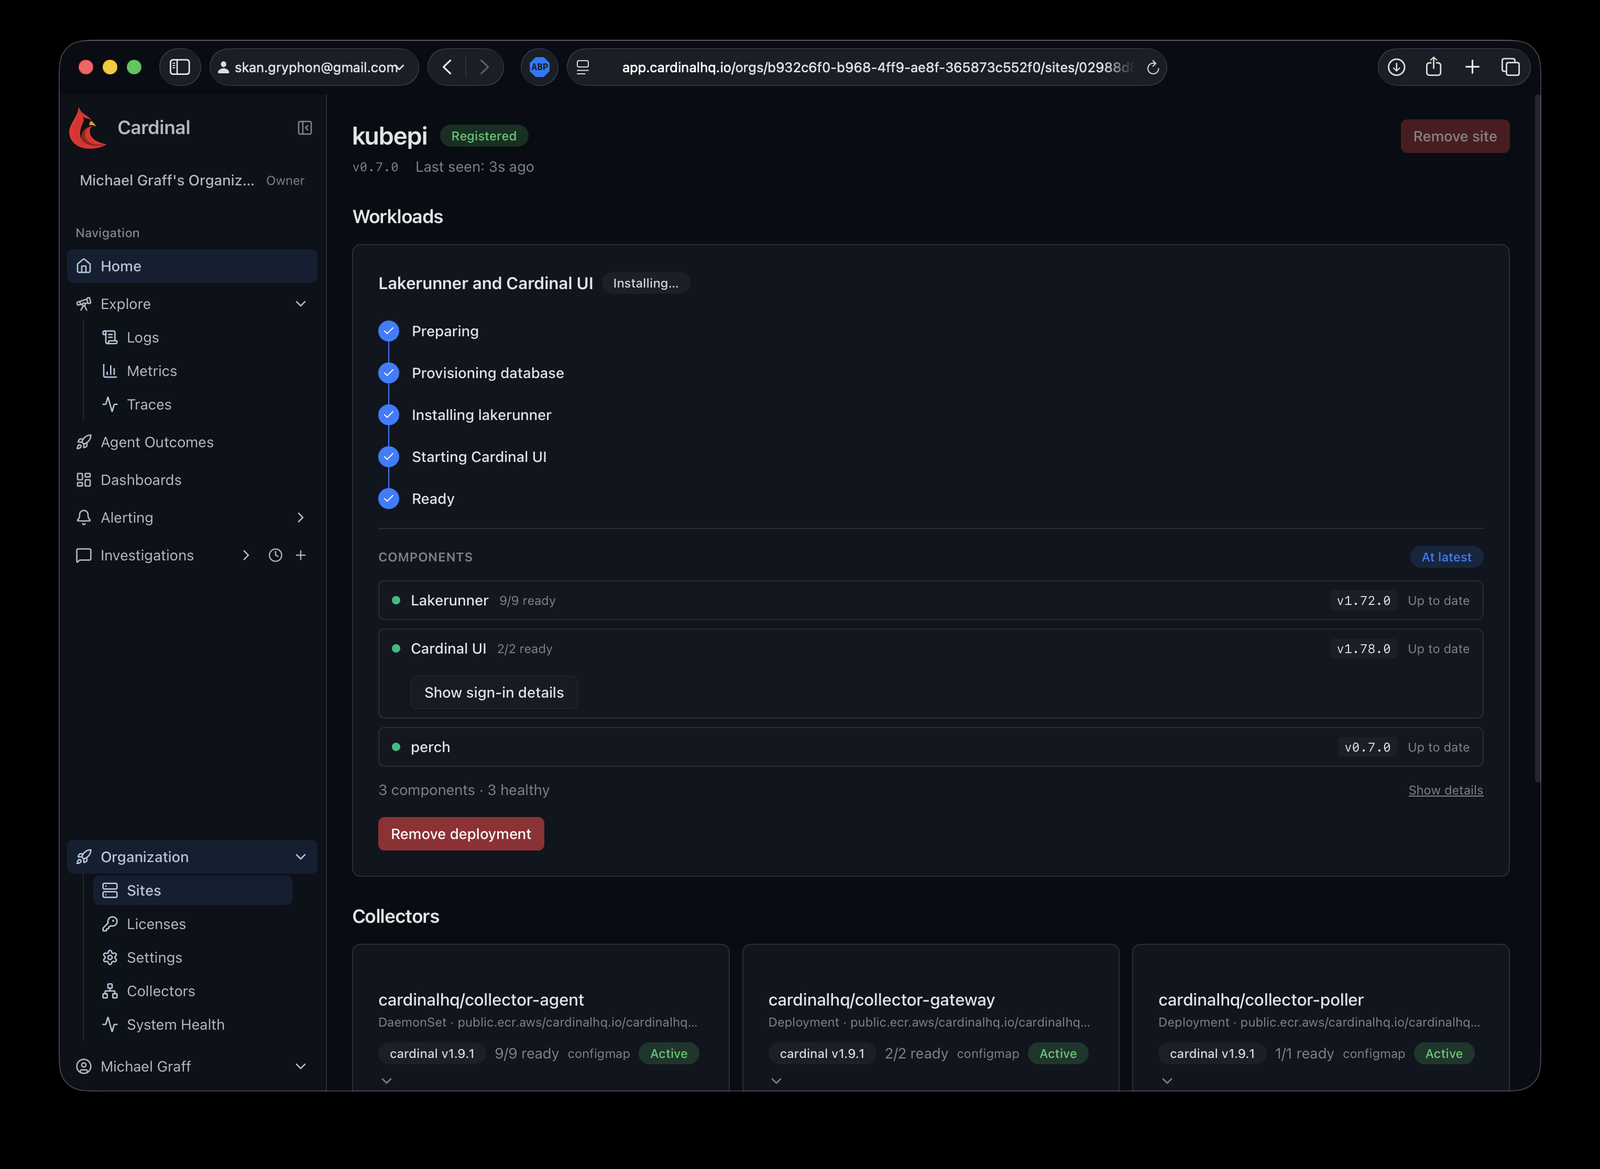
Click Confirm & deploy and watch it come up: preparing → provisioning the database → installing Cardinal Data Lake → starting the Cardinal UI → ready.
When it’s done, the site shows Cardinal Data Lake, the Cardinal UI, and the Perch operator as healthy components — each with its version and an At latest indicator so you know when an upgrade is available.
5. Sign in to the Cardinal UI
Expand Show sign-in details on the Cardinal UI component for a port-forward command, the local URL, your sign-in email, and the command that reads your password:
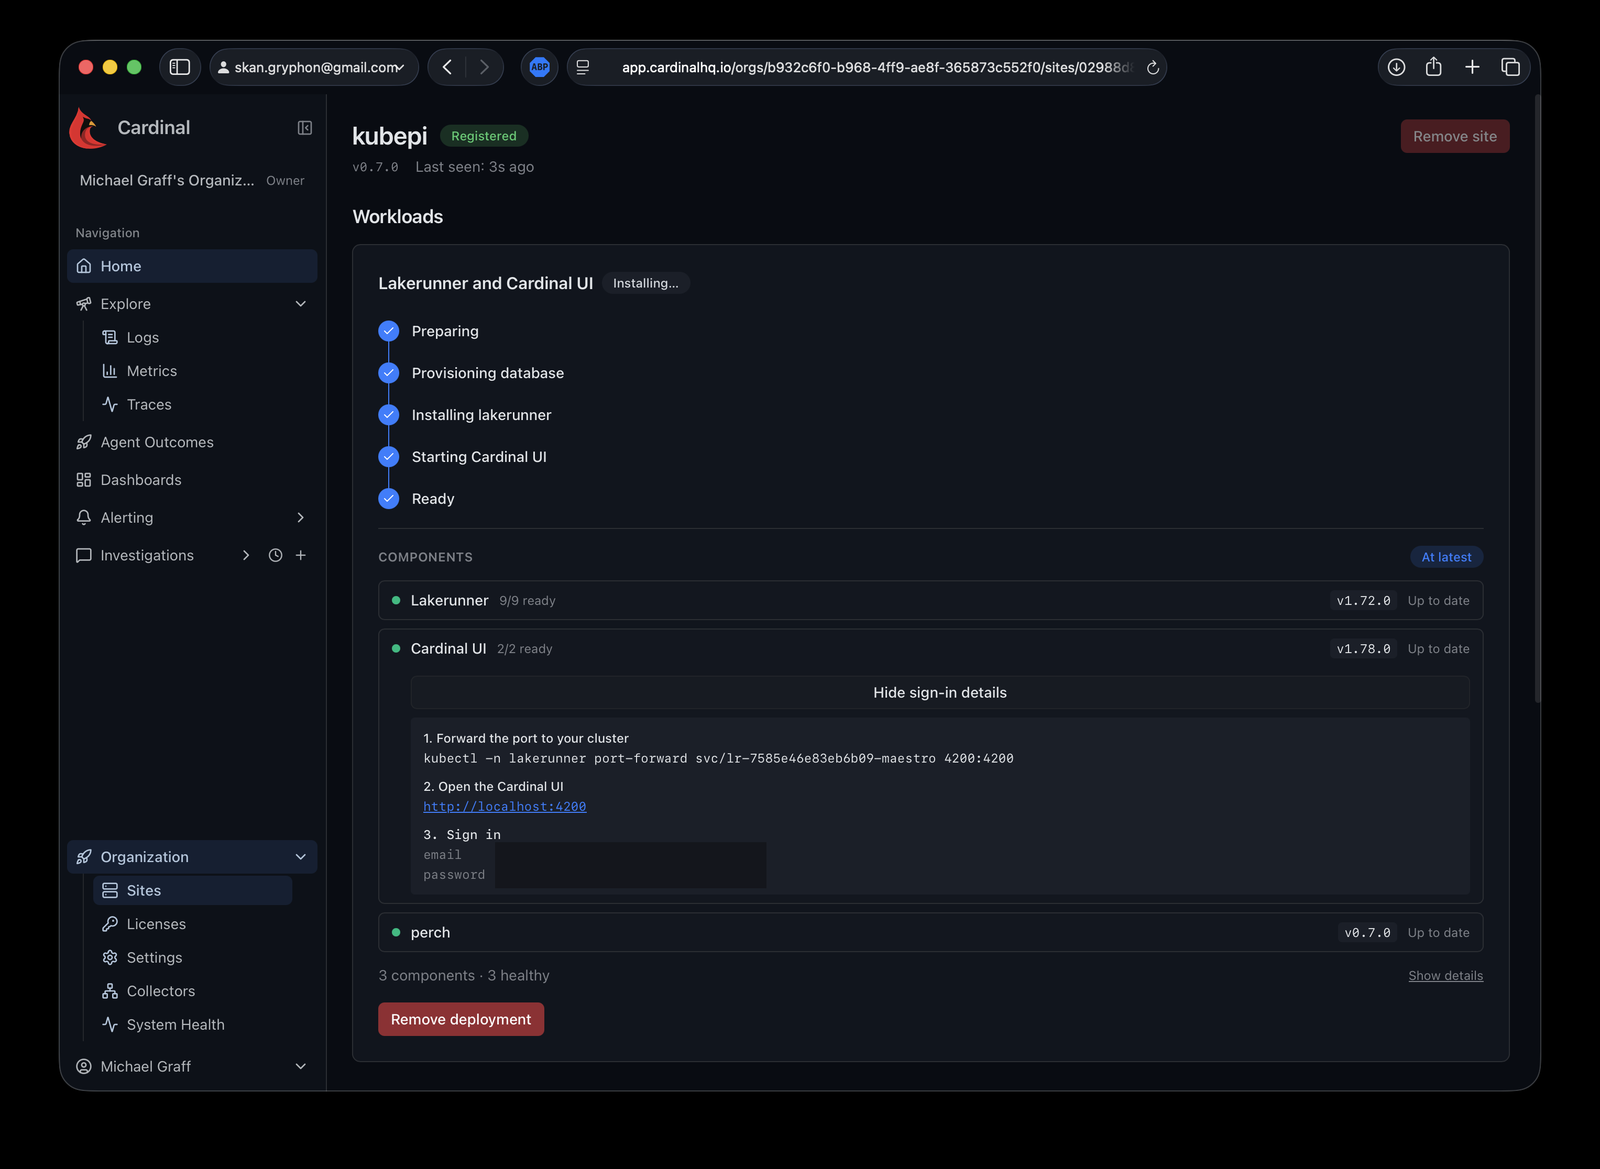
kubectl -n lakerunner port-forward svc/lr-<id>-maestro 4200:4200Copy the command exactly as shown in the UI — the
lr-<id>-prefix is per-component, and the namespace contains several services with different ids (Cardinal Data Lake, the collector, the Cardinal UI). If you’ve lost the page, find the right one withkubectl -n lakerunner get svc | grep maestro.
Your owner password is generated inside your own cluster during install — Cardinal never sees it, and it is never sent over the network. Read it straight from the Secret:
kubectl -n lakerunner get secret maestro-owner-password -o jsonpath='{.data.password}' | base64 -dThen open http://localhost:4200 and sign in with that email and password. From here you’re querying your own cluster’s logs, metrics, and traces through the on-prem Cardinal UI. Expose it behind an Ingress when you’re ready to share it with your team.
Troubleshooting
all_slots_used when adding a Cardinal Data Lake
Each trial license has a fixed number of Cardinal Data Lake slots (one on the free trial). If a prior
deployment was interrupted mid-teardown, its license claim can survive on the site even after every workload
is gone — a leaked claim. Any subsequent Add Cardinal Data Lake attempt on that org then fails with
all_slots_used and you’re stuck without any visible Cardinal Data Lake to remove.
Fix it on the site’s Deployments tab: open the site with the leaked claim, expand the Deployments
listing, and remove the stranded claim there. The slot frees immediately and the next add succeeds. Deleting
the site itself won’t work — the site delete refuses with license_claims_exist while a claim is attached,
by design, to keep slots from silently orphaning.
Sign-in details are empty right after Confirm & deploy
The port-forward command and password reader on the Cardinal UI card only exist once maestro is actually running in your cluster. If you clicked into the sign-in panel before the workload finished coming up, you’ll see placeholders. Wait for every component on the site page to show green, then reopen the panel.
Why the operator?
Running Cardinal Data Lake through the operator means you don’t babysit the deployment:
- Automatic upgrades — Cardinal Data Lake, the Cardinal UI, and the operator are version-matched and upgraded together. Pin a version or let Cardinal keep you current.
- Monitoring — every component reports health and version back to Cardinal; the site page shows what’s running, what’s healthy, and what’s out of date.
- Single-unit lifecycle — one install brings up the whole stack; one action removes it cleanly.
- No inbound access — the operator only makes outbound HTTPS calls, so there’s nothing to expose.
Trial and beyond
The trial runs 60 days with one Cardinal Data Lake deployment and all features unlocked, no credit card. To add deployments, extend the trial, or move to a production license, contact sales.
Prefer to run the chart yourself? A POC via the Helm chart is supported — see Manual install. For everything else, including production, we recommend the operator.
Reach out to support@cardinalhq.io for support or to ask questions not answered in our documentation.